 VisualCubing
The same cube, with two fewer layers
Touch this real 2×2 cube before reading anything: the notation is a subset of the 3×3’s (only faces and cube rotations, no wide turns or M/E/S), so if you already know that notation, there’s nothing new to learn here. Try any move, paste a formula into Your formula, or press Scramble cube and practice like in a real competition.
Practice it here
Press any move and watch the cube turn. Drag to rotate the view whenever you want.
Type or paste the formula and press ▶ to play it as is, or Prepare cube (reversed) to leave the cube at its starting point and watch it actually solve. 2×2 notation: only faces R R' R2 and cube rotations x y z — no wide turns or M E S, which don’t exist on this cube.
30 random moves, like a competition scramble. Press Scramble cube to generate a new one and get the player ready to solve it.
What each control does
Get to know the 2×2 cube
Ten minutes: what it's made of inside, what each face is called, and why — with no centers — there's one thing you have to watch for that the 3×3 never required.
The cube, inside and out
A 2×2 isn’t 54 stickers or 26 pieces like the 3×3: it’s exactly 8 corners, mounted against each other with no central axis holding them together. Each one has three stickers and can only go to another corner position — never anywhere else.
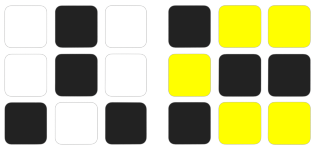
Without centers, there’s no fixed piece to tell you what color each face is, so you have to carry the scheme in your head: with yellow on top, from left to right it goes blue, red, green, and orange. The two drawings below show the two pairs of side colors — spin them with the y button on the module above until they come to you without thinking.
Corner
Three stickers each. It's the only piece that exists on this cube.
The faces and their names
Just like the 3×3, the six faces are named after their position in English, not their color: R doesn’t mean red, it means the right-hand face, whatever color it happens to be. The only physical difference is that each face has 4 stickers instead of 9.
You see U, F and R. The other three are behind,
in the direction their letter points.
The colors in the box are the ones this site uses, but your cube might have them arranged differently. What never changes is the position: the top face is U even if it's blue.
Turning the cube changes the faces but not the orientation
Just like the 3×3: the letters are oriented toward you, not tied to space. Turn the whole cube a quarter turn and the face that was R becomes F. In 2×2 this matters even more, because you don’t have any fixed center to warn you if you’ve lost track.
How you tackle it, depending on the method
Unlike the 3×3, in 2×2 there’s no single «layer by layer» breakdown — each method splits up the work differently. In grey, what each level leaves for the last-layer formulas you already know if you’ve been through 3×3.
Beginners
First face by intuition, plus a rescue formula for the last stubborn corner. The second face reuses Orient and Permute Corners from Beginners 3×3 exactly as they are: if you already know them, there's nothing new here.
Ortega
Face, then orient the last layer (OLL) without looking at the sides, and finally permute both layers at once (XLL/PBL). More formulas than Beginners, but much faster.
Advanced
Face and last layer solved in a single glance, with no intermediate steps — the equivalent of CLL. It's the method used to compete seriously.
How to hold the cube
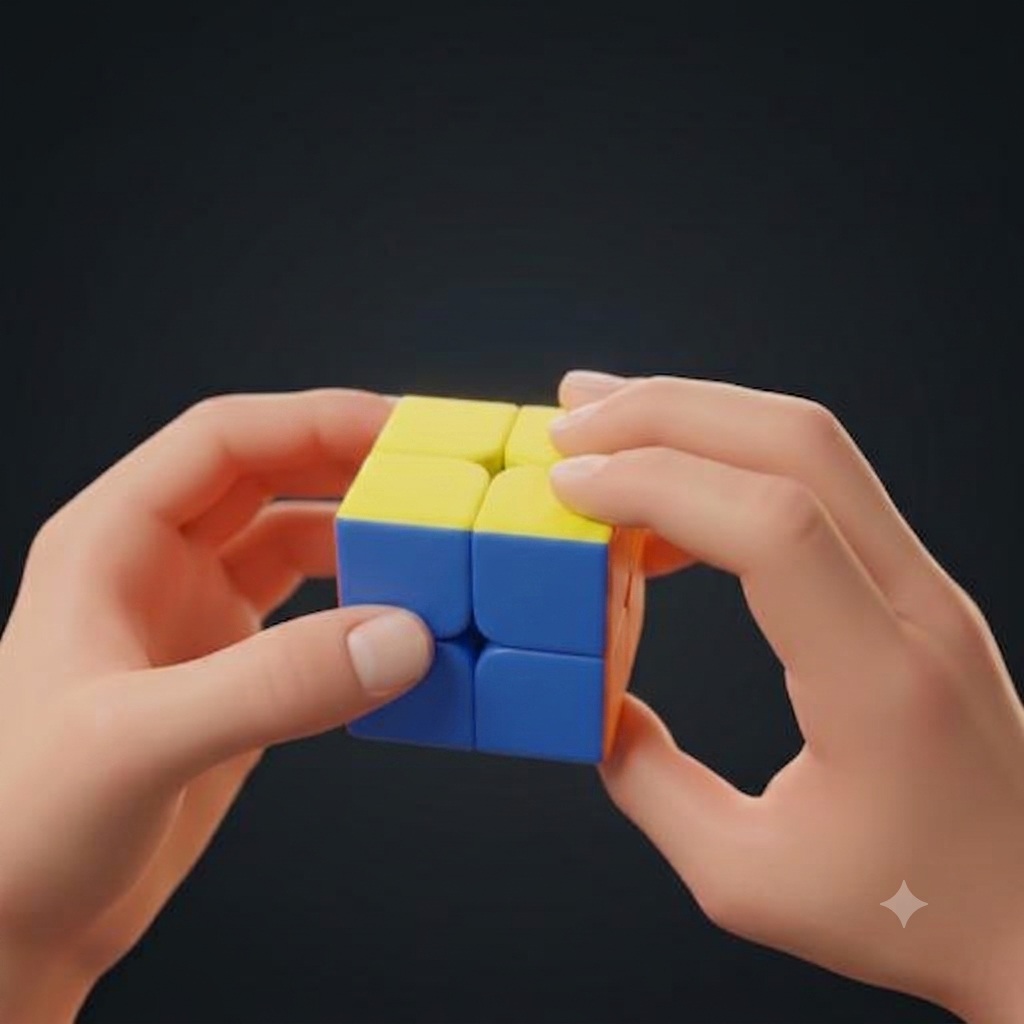
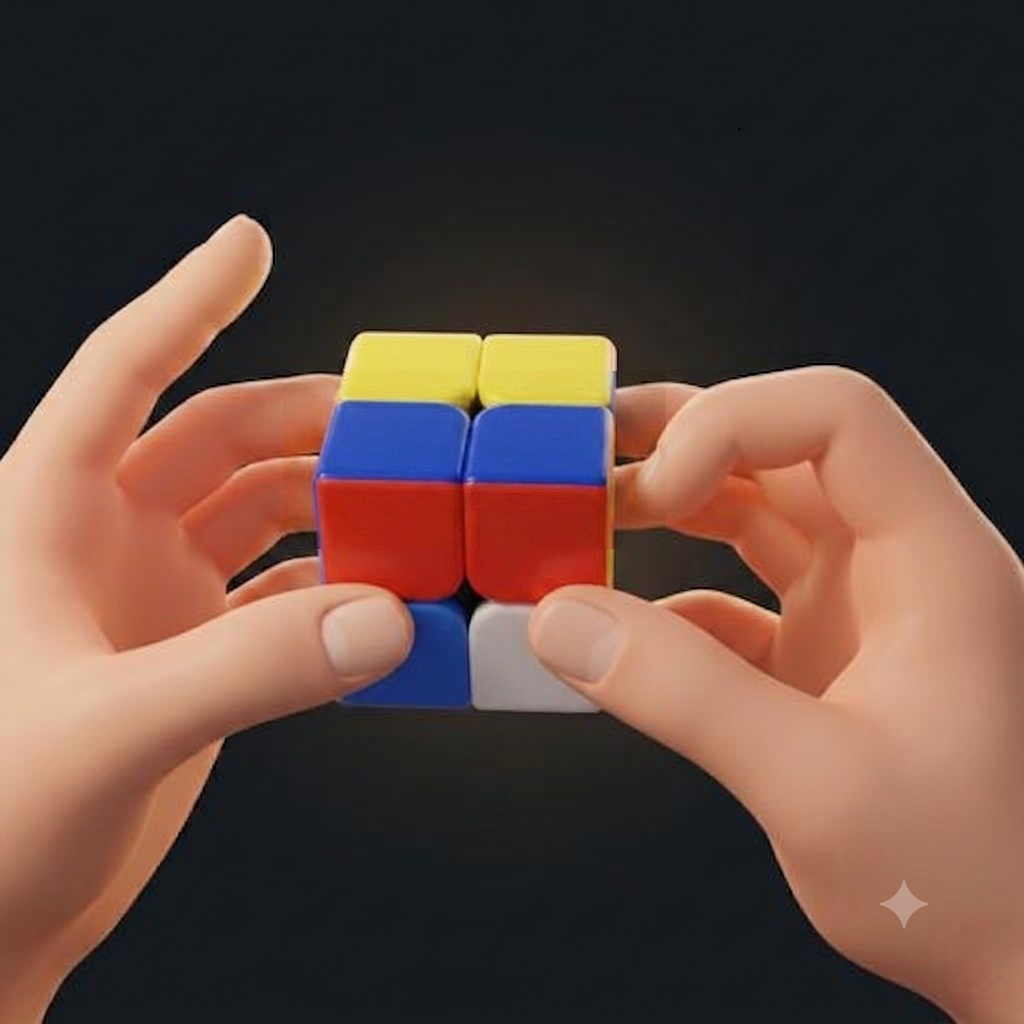
Being so small, it’s held differently from the 3×3: since there’s no middle layer to fix in place, almost everything is solved with your fingertips, holding the cube with your thumb and ring finger while your index fingers turn the top faces. The less you reposition the cube between moves, the faster you’ll go — same rule as the 3×3.
The most common blocks
These four blocks use only R, U, and F, so they exist as-is in 2×2: if you're coming from the 3×3 you already have them in your fingers, and here they show up mostly in last-layer formulas (Ortega's OLL and XLL).
Sexy move
The most used block on the cube. It shows up inside several of Ortega's last-layer formulas. Repeated six times it returns the cube to its starting state.
Anti-sexy move
The same block read backwards. It undoes exactly what the previous one does, and shows up just as often in last-layer formulas.
Sledgehammer
The hammer. Moves a few corners around without touching almost anything else, so it's the fine-tuning tool for the last layer.
Hedge Slammer
The hammer read backwards, starting with F instead of R'. It often shows up right after a Sledgehammer, as its natural partner.
Common beginner mistakes
Four are the same as on any cube with this notation, and two are specific to not having centers. If any of these sound familiar, it's not that you're bad at it, it's that nobody had explained it this way yet.
Confusing the letter with the color
R doesn’t mean “red,” it means “the right-hand face.” If you memorize by color, the day you turn the cube or pick up another one with a different layout, everything stops fitting.
Losing track of which one is F
After a whole-cube rotation (x, y, z), the face that was in front of you stops being F. Still thinking of the old F is the number one source of confusion.
Thinking you need wide turns or M/E/S
In 2×2 there are no wide turns (r u f d l b) or M E S: each face is already half a layer. If you see any of those symbols in a formula, it’s from a 3×3 tutorial that wasn’t adapted.
Skipping the apostrophe when reading
R and R' are opposite turns. An overlooked apostrophe turns a correct algorithm into a more scrambled cube.
Memorizing letter by letter instead of in blocks
R U R' U' isn’t four separate moves: it’s the sexy move, a block. Memorizing it as a word instead of a list is what makes it stick.
Losing orientation from having no centers
On the 3×3, the center of each face always told you what color belonged there. In 2×2 there’s no such reference: if you turn the whole cube without noticing, you can end up solving with yellow on the bottom and not realize it until the end.